Audio Calls
Blink has no traditional telephone dialpad, nor you will need one to interact with it. As computers have physical keyboards displaying a classic 12 key dial-pad is a poor design choice for a modern graphical user interface of a rich communications SIP client.

To start an Audio Call, select an existing contact or enter a SIP address or telephone number in the search bar.
Once text is entered in the search bar just press enter to start and audio call to that address.
Once a Contact is selected, click on the Green Handset located at the bottom of the main interface or right click and select Start Audio call from the contextual menu. For each new call an entry is added to the Calls panel.
When starting and audio call, the main interface switches from the Contacts list to the Calls panel. You can toggle between the two panels by using the button presented on the top of the main interface. The number of active calls sessions is presented at the bottom of the Contacts list.
To switch between multiple calls just click on another call in the Calls panel. When switching to a particular call, the audio stream is connected to the input and output device and all other audio calls are put on hold.
To mute your microphone click on the bottom right microphone icon. To un-mute click it again.
The shortcut key for hold is Control+SpaceThe shortcut key for hangup is Control+ESC (Linux only)
The shortcut key for redial is Control+R
DTMF
Dial tones are used to interact with PBX and IVR systems or legacy PSTN gateways. To send DTMF tones, focus the Audio Call by clicking on it. The current call is already focused if you just started it. What you then type on the keyboard is automatically translated into DTMF tones. Alpha-numeric keys are translated into numeric DTMF keys as they are on a numeric telephone keypad.
Hangup
To hangup, click on the Red handset displayed for each audio call in the right hand side of the Calls panel.
Call Recording
To record an audio call click on the . While recording, the circle will toggle between red and black. Recordings are stored as .wav files in the following locations:
- Linux
-
~/.blink/recordings/ - Windows XP
-
C:\Documents and Settings\Username\Application Data\Blink\recordings\ - Windows Vista and 7:
-
C:\Users\Username\AppData\Roaming\Blink\recordings\
Calling to PSTN
To dial a telephone number, just enter a number in the Search Bar followed by Return key.
When dialing numbers by selecting entries from the Google Contacts it is recommended that you store your numbers in international E.164 format (that is + followed by the number).
If you have created a SIP Account with Blink, you can call to PSTN numbers if you have a positive credit. You can use a Credit Card to add Credit to your account in menu
Tools->Buy prepaid credit.... You may request the assignment of a PSTN Caller Id by sending an request to the support email address. Recognized number formats are + or
00 followed by the Country Code and then Subscriber Number.
If you use another SIP Account than the one provided by Blink, access to the PSTN is subject to the support provided by your SIP service provider. The number format depends as well on the conventions imposed by the SIP service provider in question.
When dialing telephone numbers, you can replace the + prefix or add an optional prefix with your own values by editing the section Blink->Accounts->Manage accounts->Advanced.
Audio Conference
Drag and drop audio calls on top of each other to create a Conference or use the button presented at the botton at the Calls panel to start a Conference with all active audio calls.
Add new participants to a Conference by dragging Contacts from the Contacts list onto add the green area highlighed on top of the Contacts list.
Each participant can be muted individually by pressing on the microphone symbol that appears on each conferenced session.
To end an Audio Conference drag the calls out of the conference area or press the Conference button again.
There can be multiple active Audio Conferences at any given time, you can use drag and drop to group calls together in different conferences.
Call Transfer
Blink can perform both unattended and attended call transfers.
To perform an unattended call transfer, make sure the call you want to transfer is the active one. Then switch to your contact list, lookup the contact where you want to transfer, right click on it and select "Transfer Active Call" from the context menu. If you want to transfer to a particular URI of that contact, expand it and right click on the desired URI.
To perform an attended call transfer, you need to have a call with both the person you want transferred, as well as with the person where you want the call to be transferred to. After that start by dragging the session with the person you want to transfer towards the session with person where the call has to be transferred and then drop it on that session while holding the Alt.
The progress and the result of the transfer is displayed on the session tile. If the transfer is succesful, the original call is automatically terminated, else you can continue with it. After a transfer is initiated, you can either wait for the transfer to finish or close the original call. In both cases the transfer will continue as intended, but if you close the original call you won't be able to see the transfer progress anymore and you will not know if it succeeded or not.
Preferences
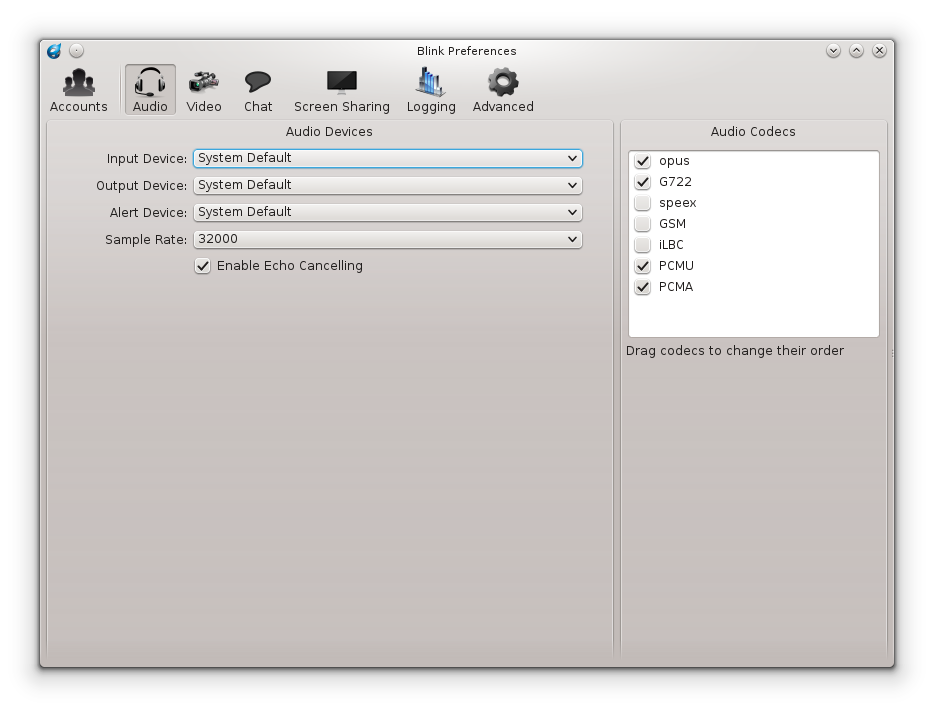
To edit Blink general preferences and manage the SIP accounts, open menu Blink->Preferences.
The Preferences are split in Accounts, Audio, Video, Chat, Screen Sharing, Logging and Advanced. Each SIP account has its own set of properties.