SIP Accounts
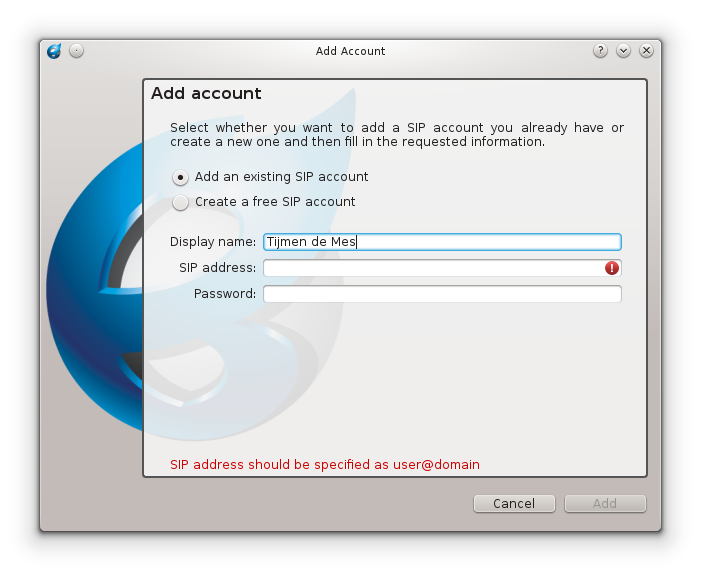
To use Blink you need a SIP Account. At first start, Blink shows the Add Account wizard that helps you configure the initial SIP Account.
Later, you may configure Blink to use multiple SIP Accounts. To configure a new SIP Account, go to menu Blink->Accounts->Add Account....
Existing SIP account
If you already have an account from a SIP service provider, select this option, then enter the SIP address in the form of user@domain and password. The SIP registrar of the domain is then automatically located by using DNS (RFC 3263). If the service provider does not support automatic discovery of the SIP server address using DNS records, you can later configure manually the address of the SIP server in the advanced account preferences.
Free SIP account
If you do not have a SIP account, Blink can create one for you using the free service provided by SIP2SIP.info. This SIP account supports all advanced Blink features like chat, presence, contacts synchronization, file transfers and screen sharing.
After you have configured an account, you can see the status of the registration in the account list of Main Window window. Solid color means that the account has successfully registered, gray color means that the registration has failed or is in progress.
To edit the properties of existing accounts go to menu Blink->Accounts->Manage accounts.